No products in the cart.
Back to Blog
Table Of Contents
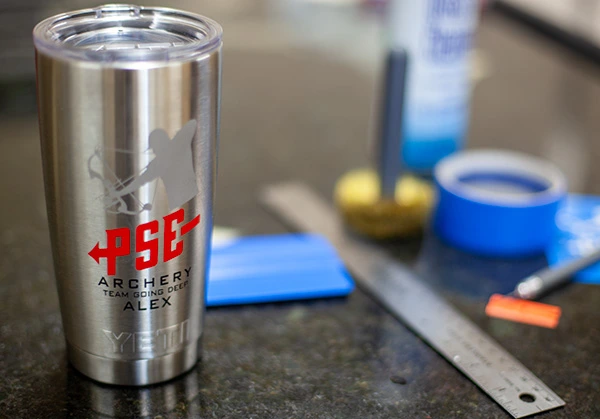
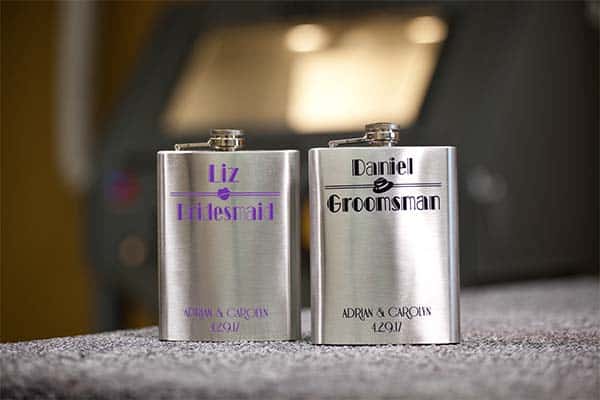
Set your sandcarved metal cups apart from the rest by adding multiple colors. If you haven’t sand
carved metal, you are missing out on personalizing the popular Yeti, S’well, and other containers.
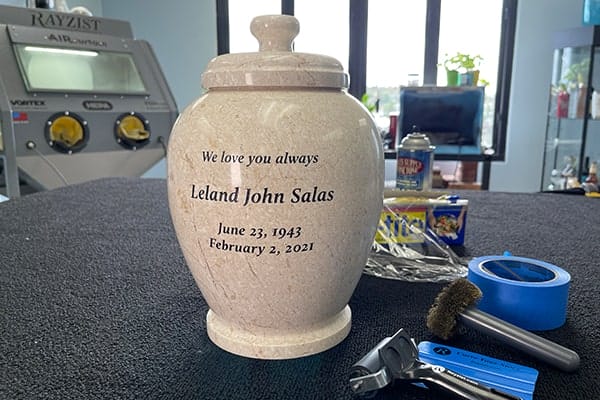
There are many methods to mark metal, but sandcarving metal has many benefits.
- Sandcarving metal is quick.
- No special equipment needed for round objects
- Add one or more colors easily with SR3000 or SR2000 masks
- Mask peels away easily.
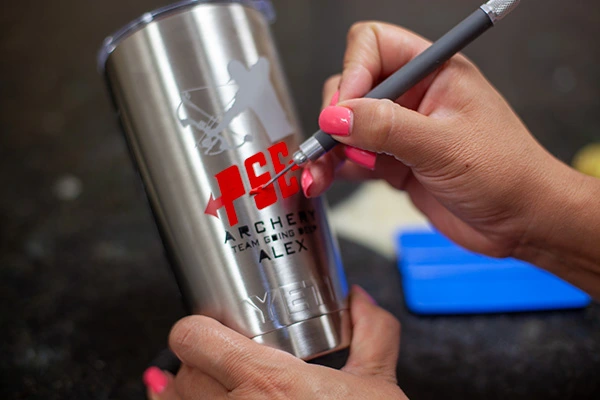
First let’s start with sandcarving metal. It is important to know that you will not obtain depth with
sandcarving metal surfaces. Sandcarving will only remove the coated surface or remove the polish of
the metal surface. Sandcarving metal surfaces takes seconds to accomplish. We recommend using
SR2000 (applied adhesive) or SR3000 as your sandcarving stencil/mask. You can use either
aluminum oxide or silicon carbide, but we prefer to use silicon carbide for metal surfaces. The silicon
carbide leaves a bright finish that is notice when no paint is applied.
Step One
Apply sandcarving mask/stencil to clean surface
(SR2000™ with applied
adhesive was used in
this project)
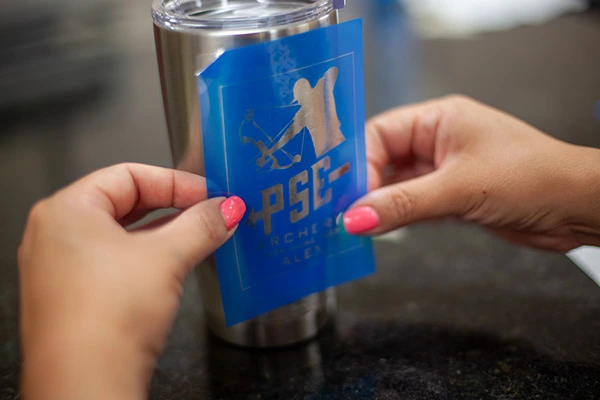
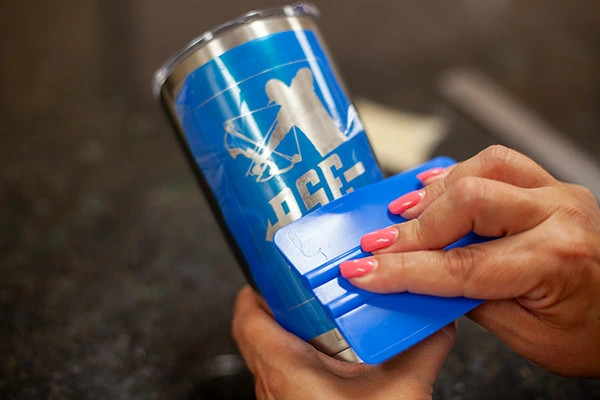
Step Two
Apply mask to surface.
Squeegee mask to surface with pressure.
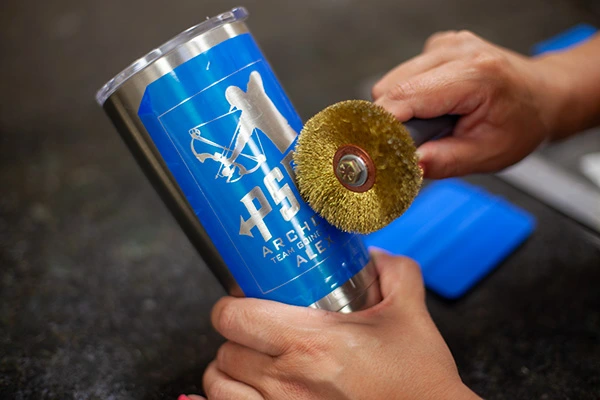
Step Three
Use wire wheel brush over mask to perforate the membrane.
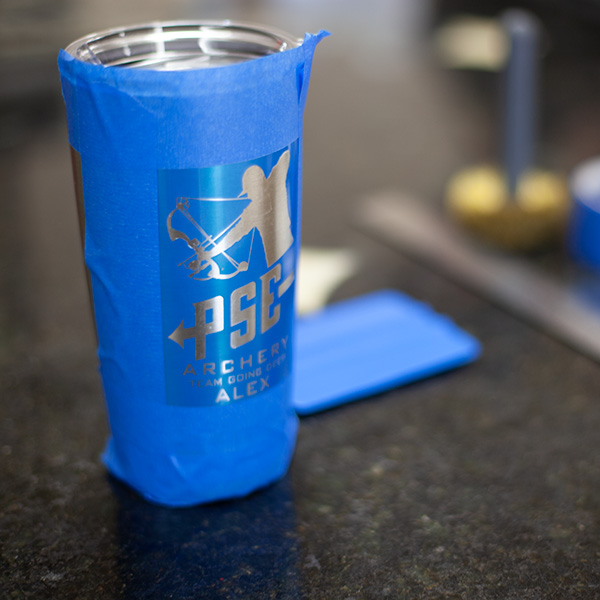
Step Four
Apply tape to exposed area. Blue painters tape was used.
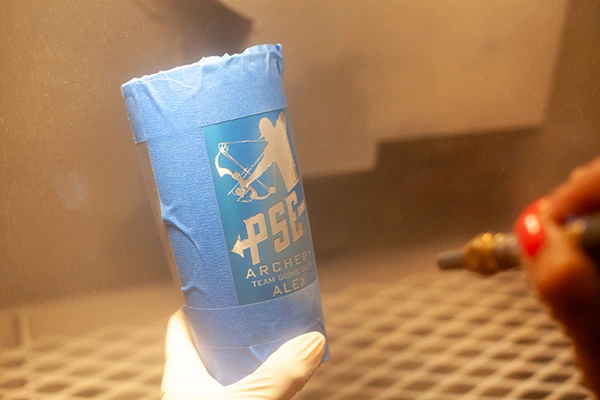
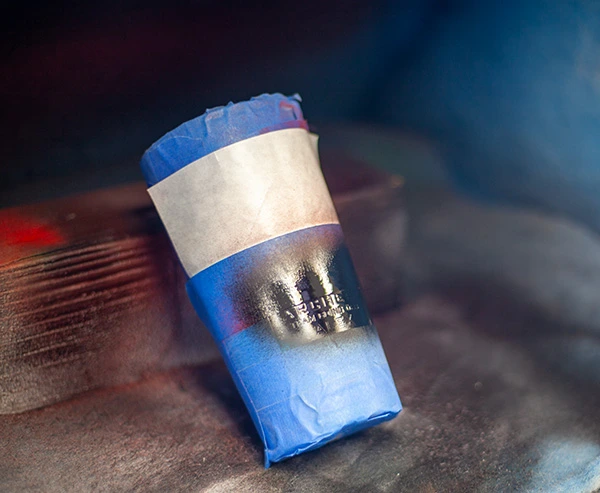
Step Five
Sandcarve item. Silicon carbide 150grit was used on this project.
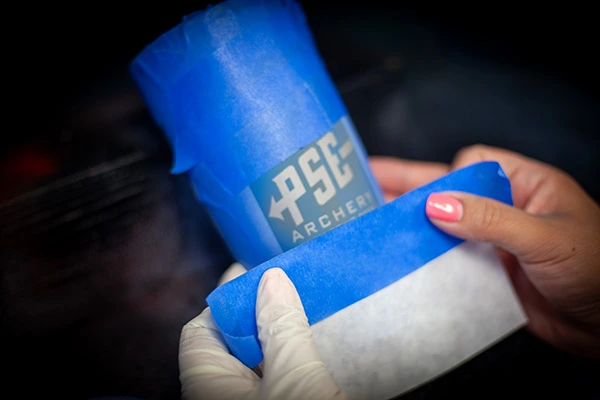
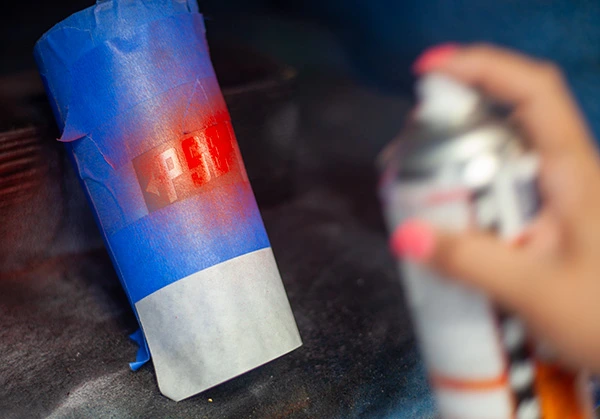
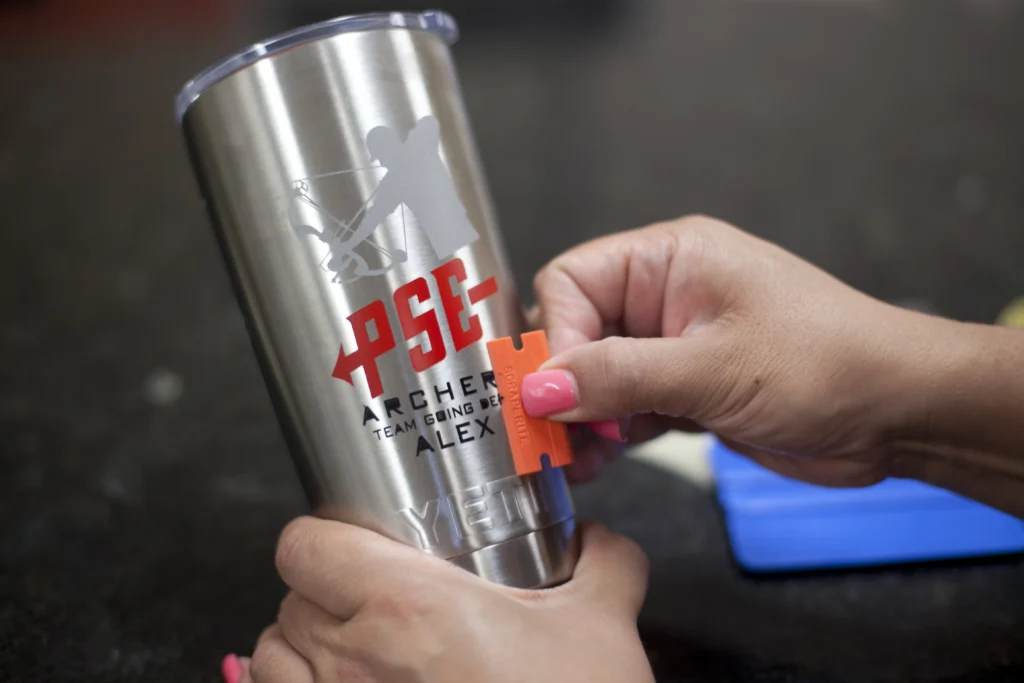
Step Six
Paint fill. If using more then one color then use cover paper to protect sections of the design from paint. Apply paint to exposed area. Wait for paint to dry and cover painted area with cover paper and paint unpainted area.
Step Seven

Share