No products in the cart.
Back to Blog
Table Of Contents
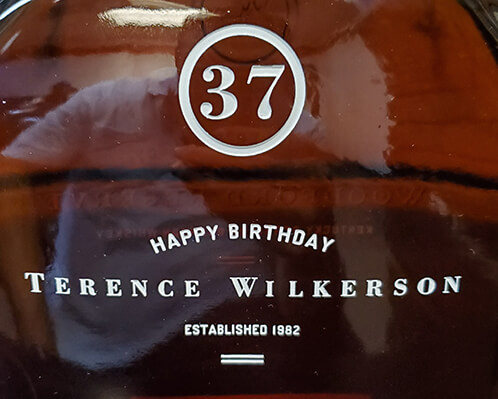
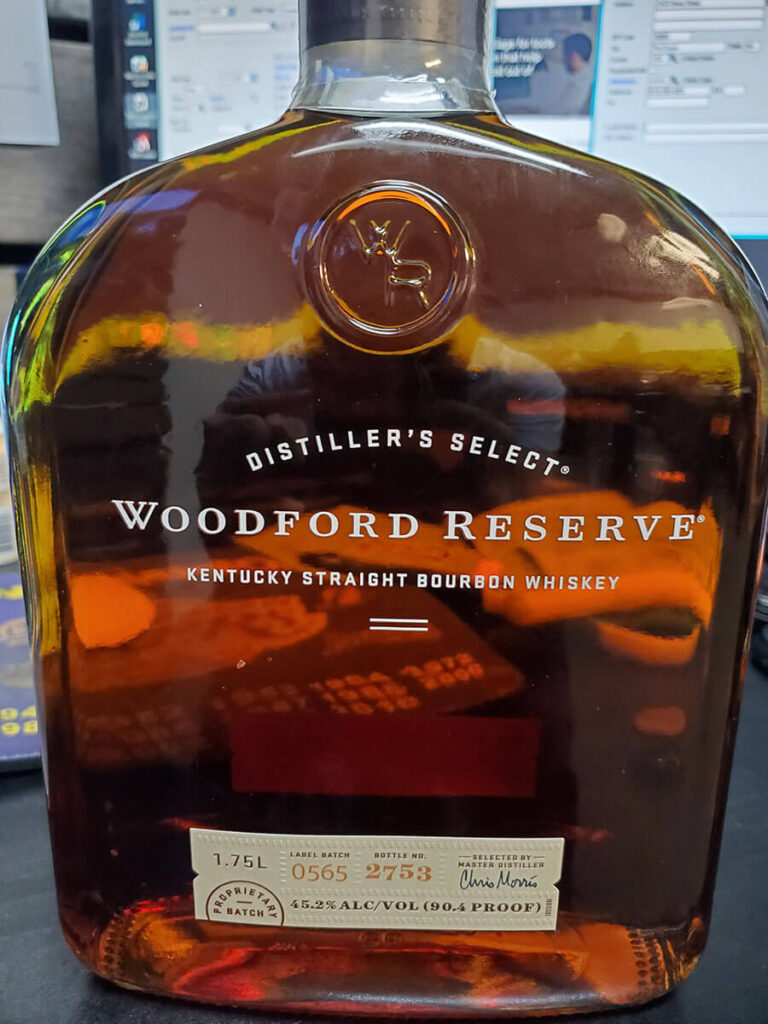
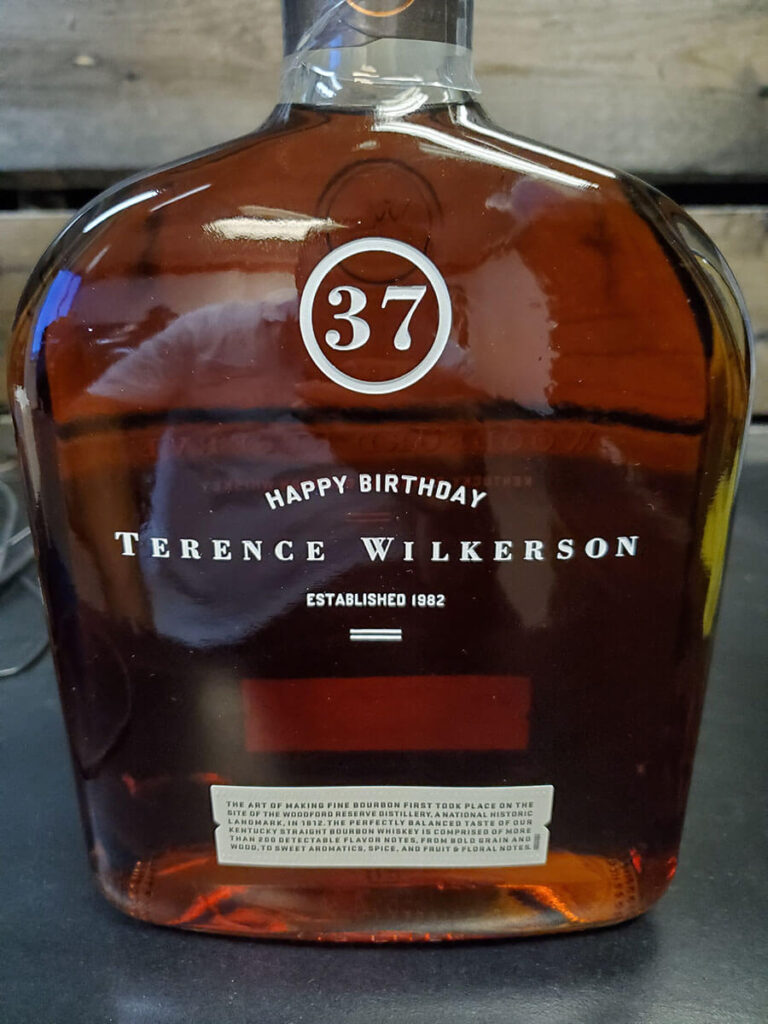
It was my good friend Terence’s 37th birthday and I wanted to not only give him a bottle of his favorite whiskey, but also give it a personal touch. As I looked at the bottle of Woodford Reserve on my desk, I saw the back side of the bottle as a perfect canvas for a personalization. The only problem is I had spent a couple hours looking through different vector stock designs trying to find the right design. Everything I came across had the typical loud and flashy Happy Birthday banner with confetti and balloons. Not that there is anything wrong with that, but it just didn’t match the style of the bottle or the personality of my friend.
Inspiration for the Perfect Design
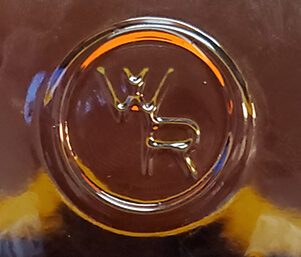
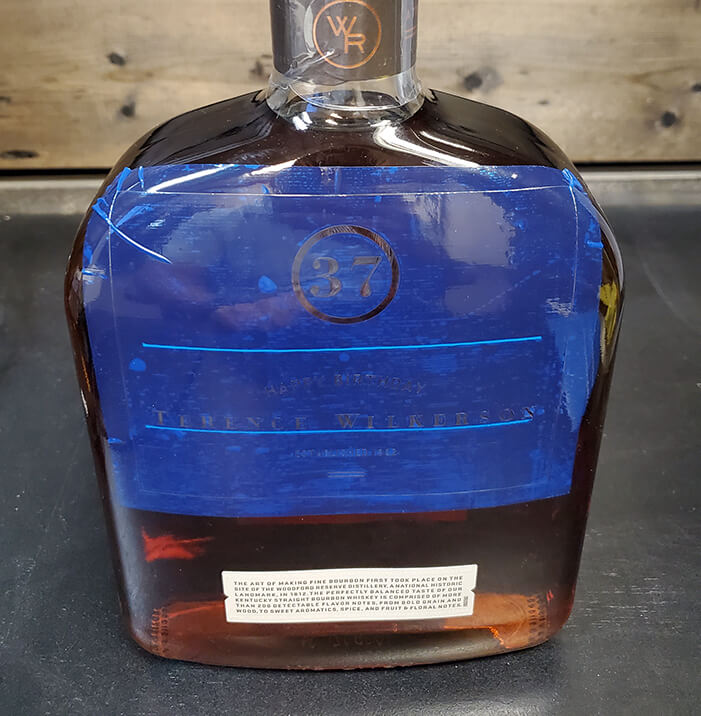
As I stared at the bottle, I admired the text and design of the front side. The text was simple but classy and it also had an embossed circle with the initials WR. The more I looked at it, I started to think of how I could duplicate this to personalize the back of the bottle. I even thought I could incorporate the embossed circle by engraving a circle with age of my friend. I took the lay out of the front of the bottle and simply incorporated the words Happy Birthday along with my friend’s name, and the year he was born.
Creating the Personalization
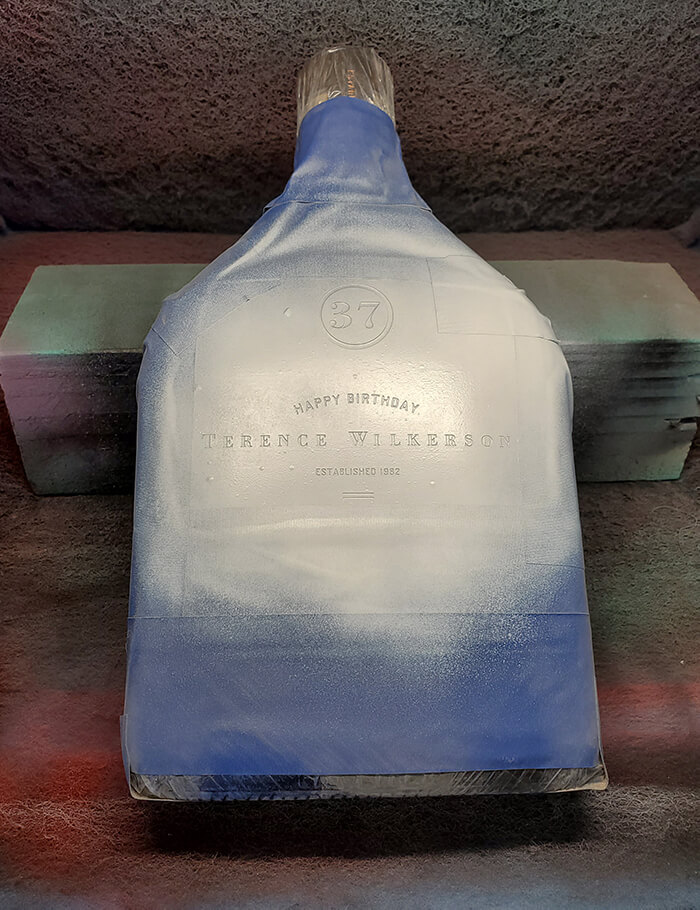
Applied SR3000 5Mil Mask
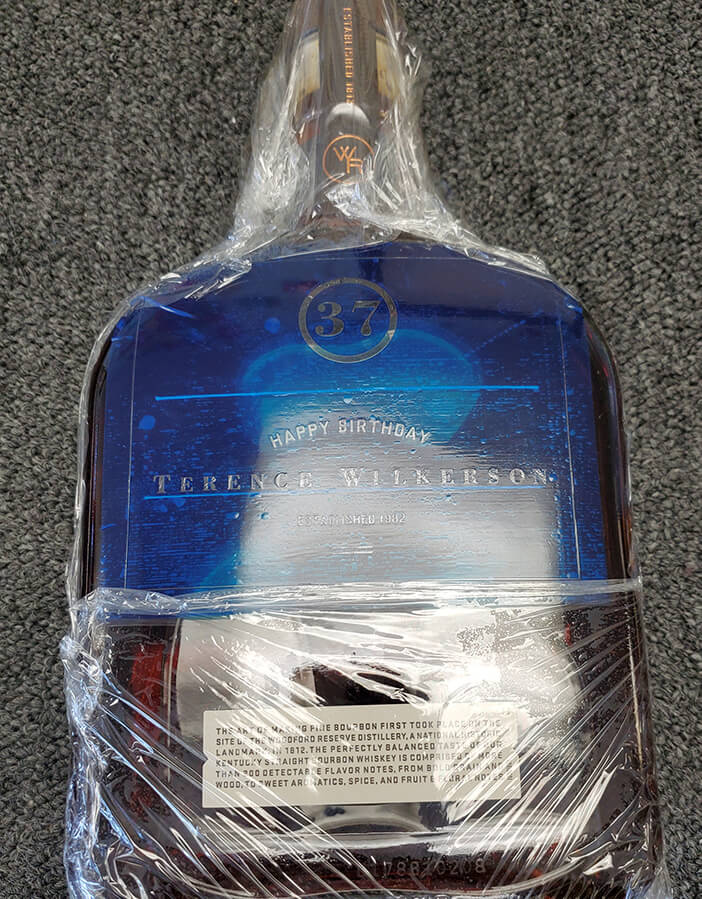
Plastic Wrap Applied
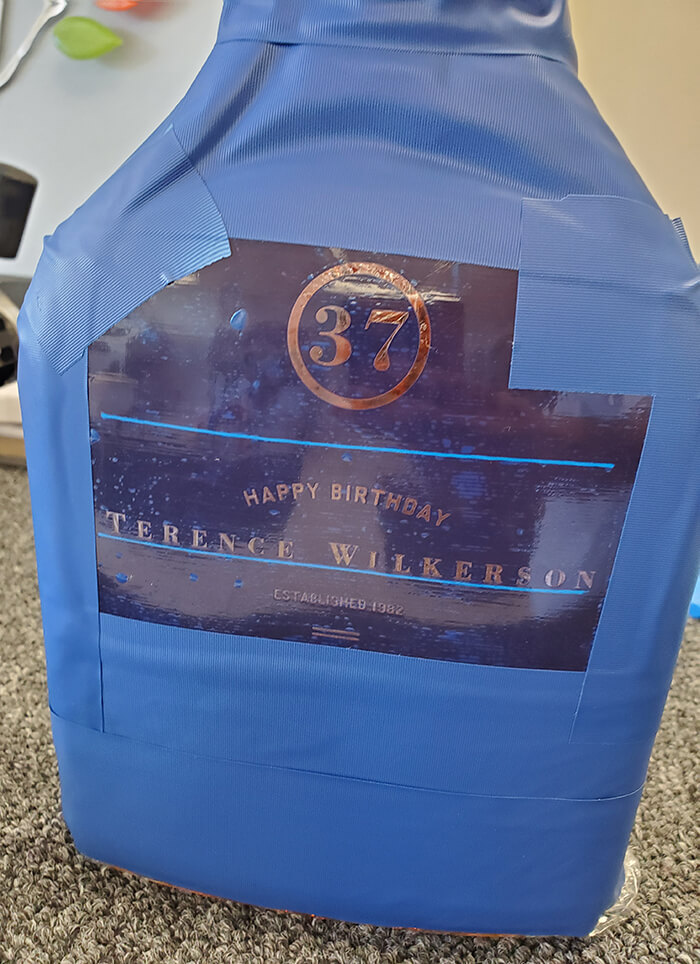
Vinyl Blasting Tape Applied
Once inside the 2034VXA I set
my blasting pressure to 40 PSI. After
approximately 3 minutes of blasting
(aluminum oxide 150grit), I reached the
desired depth for my engraving. I removed
the bottle from the 2034VXA
and took it to the paint booth, leaving
the stencil on for painting.
I took the design and used Rayzist’s SR3000™ Self-Stick 5mil film to create the stencil. I decided on the 5mil film as it would give me a little extra thickness for engraving deeper, which would work well with painting. After the stencil was created, I applied it to the back of the bottle with a squeegee. I used blasting tape to protect the bordering areas of the stencil, and a food style plastic wrap to wrap and protect the rest of the bottle from getting dusty. Before putting the bottle into the Rayzist 2034VXA Sand Carving System, I used the Wire Wheel Roller to eliminate any air pockets around my design.
Once inside the 2034VXA I set my blasting pressure to 40 PSI. After approximately 3 minutes of blasting (aluminum oxide 150grit), I reached the desired depth for my engraving. I removed the bottle from the 2034VXA and took it to the paint booth, leaving the stencil on for painting.
Select a Paint Fill
After comparing a few different styles of paints, I chose to go with the Stone Tone Hi-Lite White Paint Aerosol. Although this is a popular paint among the monument and stone engraving industry, it also works great on glass. It not only matched the white on the front of the bottle, but it wasn’t overly glossy and gave a more matte look. Another advantage of the Stone Tone paint is that it dries fairly quick compared to many other types of paint. I let the paint sit for approximately 30 minutes before removing the stencil.
Paint Fill Application
Close Up Image Of Text
After removing the stencil, I used some glass cleaner to clean the bottle. I was very pleased with the way the bottle turned out. The personalization was subtle because it matched the front label, but it looked classy. Later that evening I gifted the bottle to my friend Terence. Initially he recognized the bottle and the label but the look of surprise on his face when he turned it around and saw his name and the personalization was priceless. He was overjoyed with the gift and told me he would never get rid of the bottle. I enjoyed every step of the process and it was rewarding. Having the right tools and material makes all the difference.
Sandcarving Made Simple & Classy
Front of Bottle
Back of Bottle
Tools Used for the Project
- SR3000 Self-Stick 5Mil
- Plastic Wrap
- Wire Wheel Brush
- Vinyl Blasting Tape
- Stone Tone White Paint
- 2034VXA Sandcarving System
- Aluminum Oxide 150grit
All tools and products used in this project were provided by
Rayzist Photomask.
Share