No products in the cart.
Back to Blog
Table Of Contents
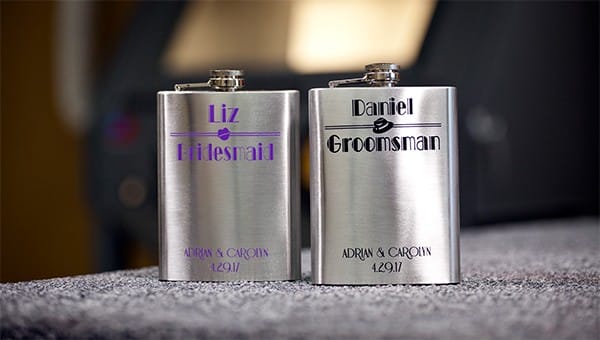
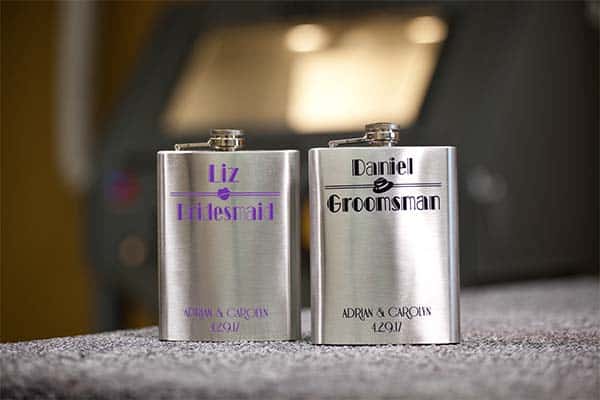
Personalized flasks are a fun and unique gift to give to a bride, groom, groomsman, best man, maid of honor, bridesmaid, or matron of honor. In fact, my sister recently provided me with plain metal flasks to sandcarve with a personalized message for her own wedding party.
Sandcarving is a quick method for etching or marking metal surfaces, but it is important to remember that depth cannot be achieved when Sandcarving metal surfaces; the blasting abrasive will only remove the polish surface creating a contrast. However, Sandcarving does allow for colored paint fill, which is a great way to add that extra-creative look to your project. For my sister’s flasks (shown), our graphic artist at Rayzist looked to her wedding invitations to get ideas for a layout. The graphic artist used the same font as on the invites for the flasks and added an image of top hat for the groomsmen and lips for bridesmaids, giving the final artwork a classy 1940s wedding theme.

Step one
Produce a photomask. For this example, we used SR3000 Self-Stick 3 mil photoresist film, which is easy to remove even after color-filling.
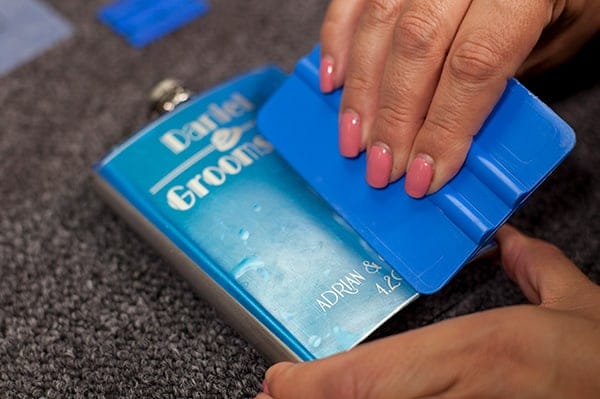
STEP TWO
Apply the photomask to the flask’s surface, then squeegee the mask with a plastic burnisher and peel away the clear carrier.
STEP THREE
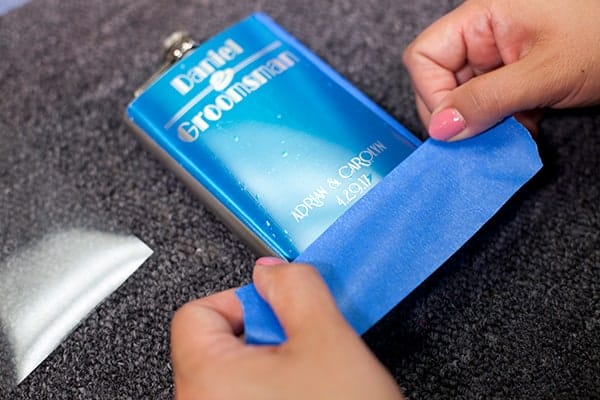
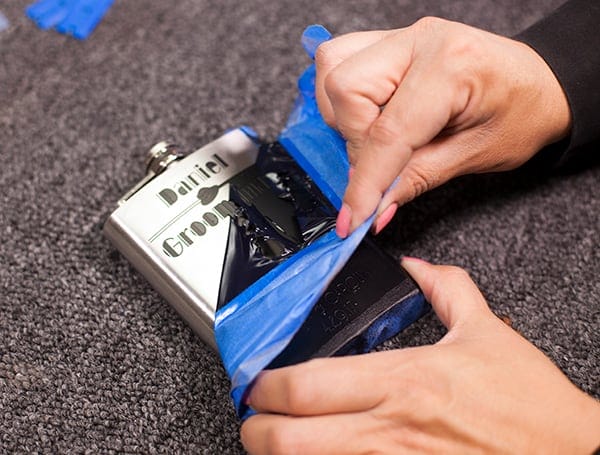
Tape off any exposed areas you do not want to carve with masking or painter’s tape.
STEP FOUR
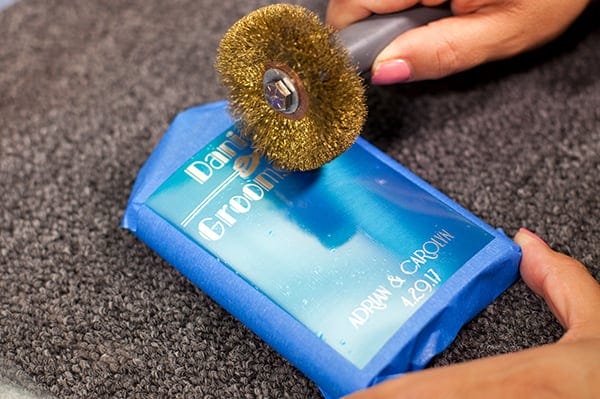
Although it is not required, I suggested that you use a wire-wheel brush over the design. This will perforate the membrane (thin plastic), releasing any trapped air.
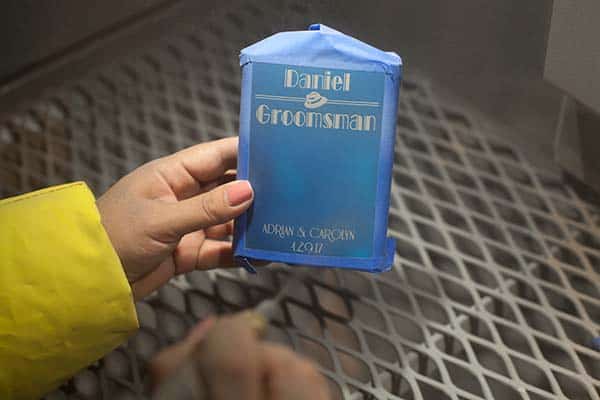
STEP FIVE
Sandcarve the flask—sandcarving will only remove the surface of the metal, resulting in a surface etch.
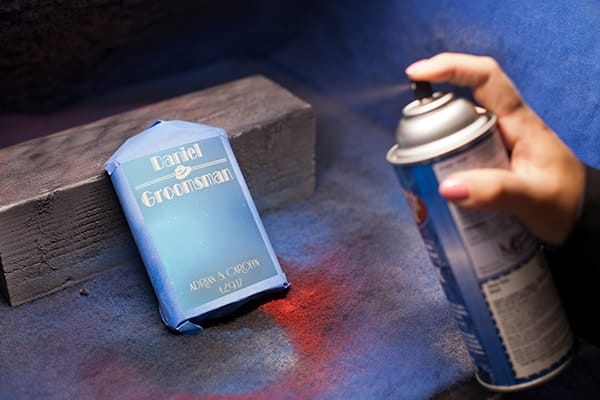
STEP SIX
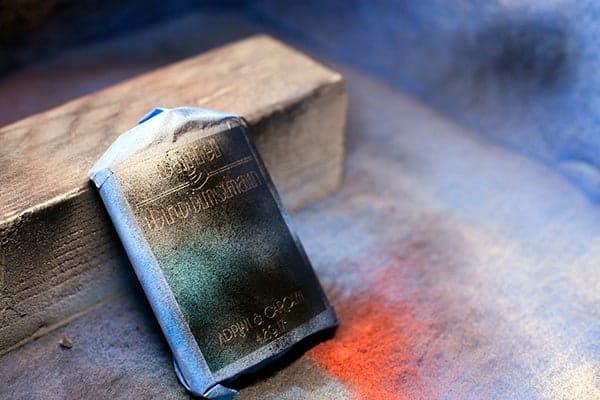
After sandcarving, leave the photomask on the flask and place the product in a well-ventilated area for paint-fill application. Apply spray paint in light coats; for this project we used Stone Tone Spray Paint. Note: It is very important not to over-paint the surface, which can cause the paint to lift up when the photomask is removed. Once the paint is dry, peel away the photomask.
STEP SEVEN
Use a plastic razor to scrape off excess photomask. We prefer to use a plastic razors on metal surfaces to avoid scratching the surface.

STEP EIGHT
Clean the surface of any residue or dust with glass cleaner and enjoy your beautiful final product!
Share