No products in the cart.
Back to Blog
Table Of Contents
Creating beautiful Urns for Cremation.
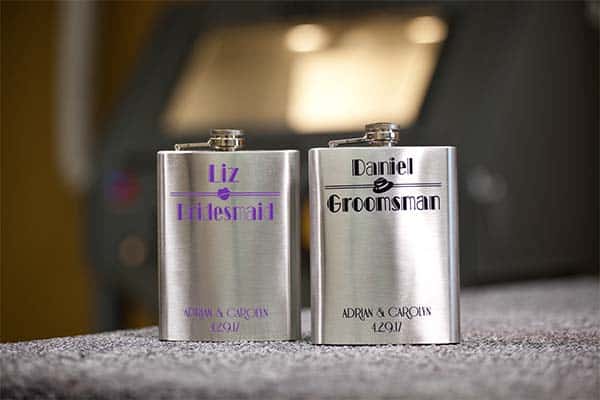
Personalize with no limits with sandcarving
Cremation is on the rise in the United States of America. In 2019 54% of deaths were cremated and this number is projected to increase 25% over the next 16 years according to the Statisia-cremation rates in US. More families are choosing cremation today compared to only 26% that were cremated in 2000.
With more families deciding cremation there is a need to decorate and memorialize Urns. Urns come in all shapes which will limit the amount and size of text. When you choose photoresist film and sandcarving, families have options with decorating almost any Urn.
Working in the sandcarving industry for over 18 years I am familiar with a wide range of products photoresist and sandcarving affords. I understand the flexibility of photoresist and how it can be pushed to create beautiful etchings on curved surfaces or odd shapes and is durable to handle deep carvings on stone.
My dear friend recently lost her dad and the family needed direction on memorializing their Urn. My friend did some research online and felt that most of the inscriptions on urns had limited personalization. Our method of sandcarving with photoresist film provided greater options for the inscription. The durability of SR2000 6Mil allows the sandcarver to etch depth with confidence.
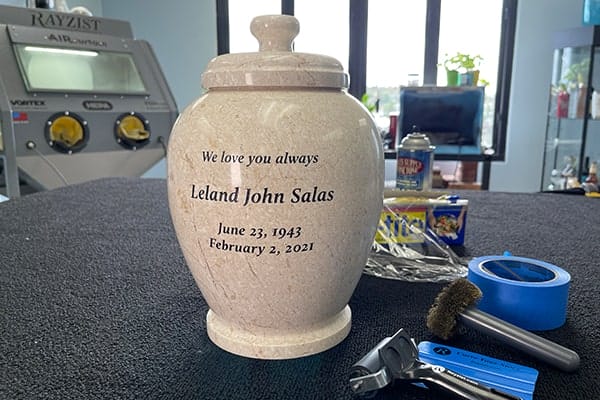
I had the honor to etch this beautiful marble Urn for my friend and her family. This project became more than producing a product, it had become personal. I felt the pressure of creating an absolutely perfect sand etch. Perfection was a must!
Her family chose a beautiful marble urn. The Urn was fairly large and had a tapered design.
Our art department came up with a few fonts as proofs. Once the font was selected, I produced photomask. SR2000 6Mil was used for this project because of the durability. RZ2 brush-on adhesive was applied to the stencil to create a strong bond to the surface.
Our product allows you to make a product personal. In many cases the customer does not know exactly what they want, it is up to us to provide them with options. Photoresist allows you to memorialize with detail, color, odd shapes and on various surfaces.
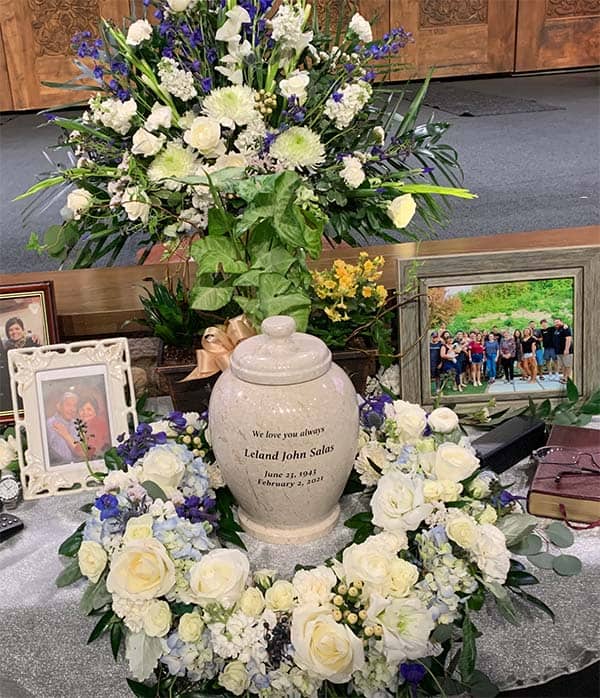
It was an honor to be a part of the creating this urn. Leland was a great man who was highly loved and honored by his family.
Step by Step Guide
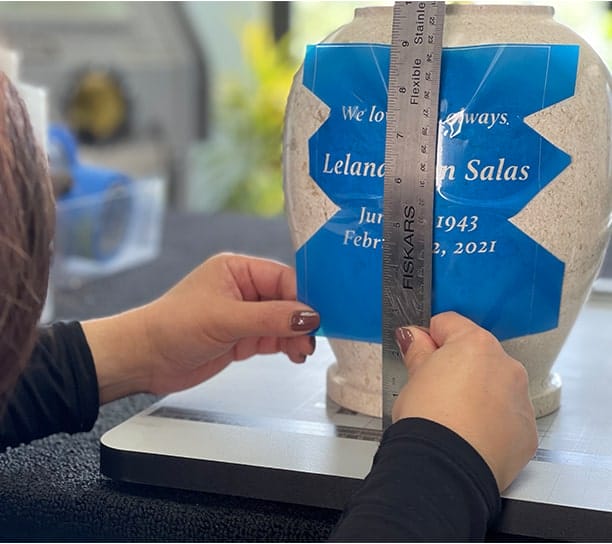
Measuring
Place Urn on a hard surface and measure to determine where the first line of text will be placed. Use a water-based sharpie to mark alignment lines.
Apply photomask to Urn by guide of alignment lines. Do not squeegee the photomask until a measure is done from left, center and right ensuring the photomask is on straight.
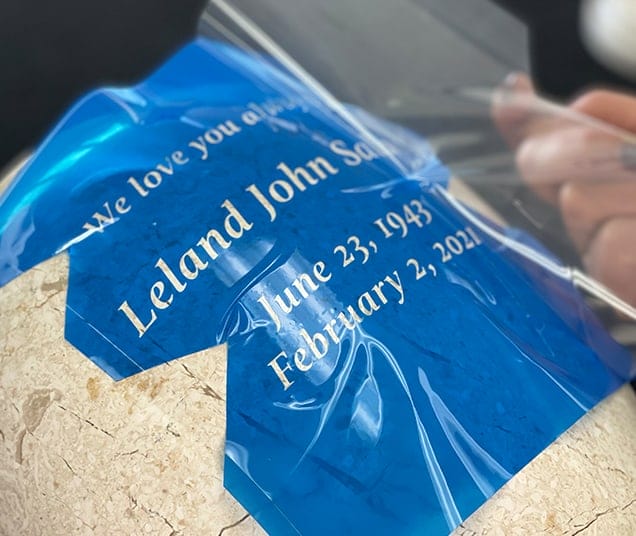
Apply
Once photomask is on straight, peel away clear liner and start to press down the photomask with your fingers. I used our Rubber Brayer roller to squeegee the stencil in place. You will have to work out the wrinkles away from the text. I found the stencil applied easier to the curved surface by cutting out a section of the stencil.
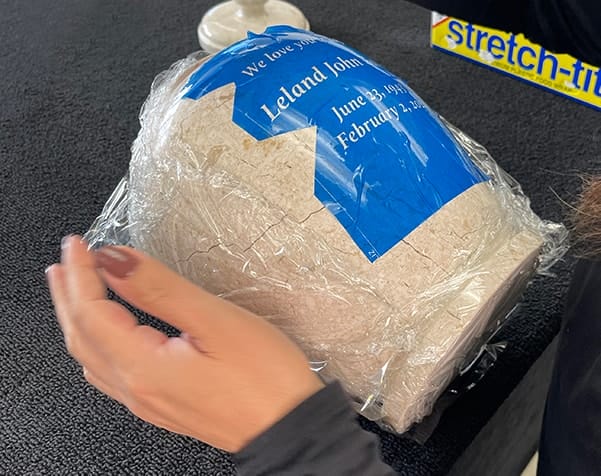
Protect
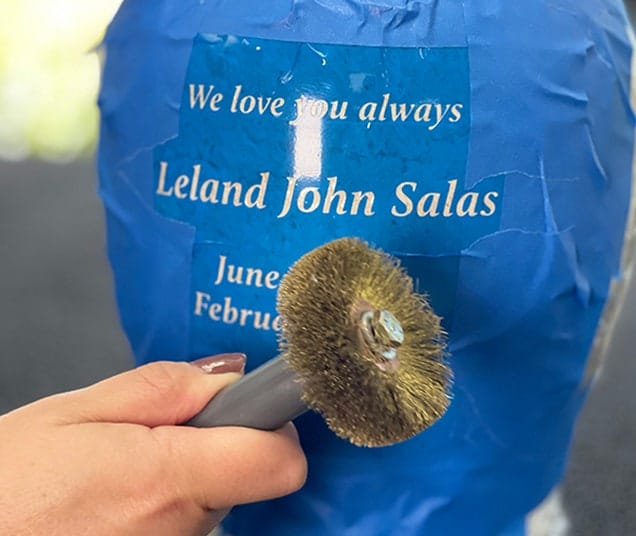
Plastic wrap was applied to protect the inside of the urn from abrasive and from over spray of paint. Painters tape was applied to the mask and plastic wrap. Usually, I would use our Sandblast Vinyl Tape, but the stencil extended beyond the text and the blasting nozzle would not exceed past the stencil. I rolled over the stencil with the wire wheel brush to ensure no trapped air is in my text.
Application Tools
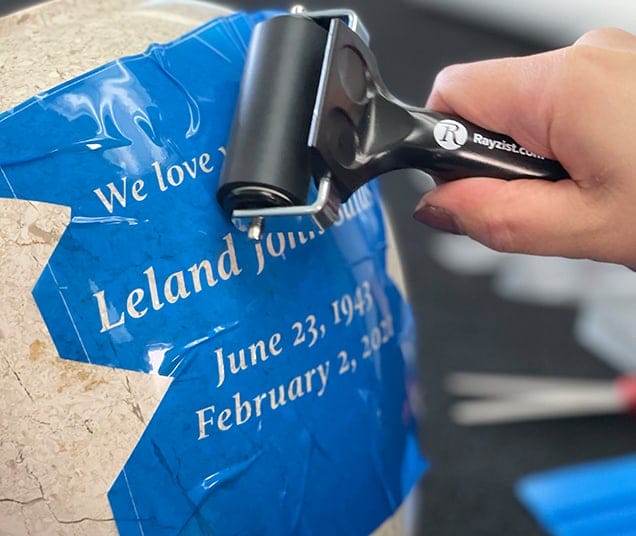
Roll Rubber Brayer over photomask to compress the stencil to the stone surface.
Use the Wire Wheel Brush to eliminate any trapped air between photomask and the stone surface.
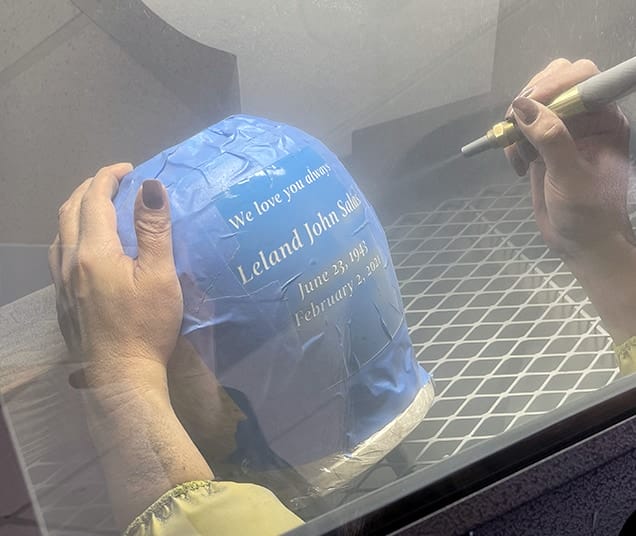
Sandcarving
Place item in sandcarving system and began etching. Slow passes at a 90-degree angle over the text causes the abrasive to cut quickly. I blasted at 30psi with 150 Grit Aluminum Oxide. Once desired depth is reached use an air gun to remove any abrasive in the etched area. You can actually read my blasting pattern on photomask. The darker area of the photomask is exactly the area that my nozzle blasted.
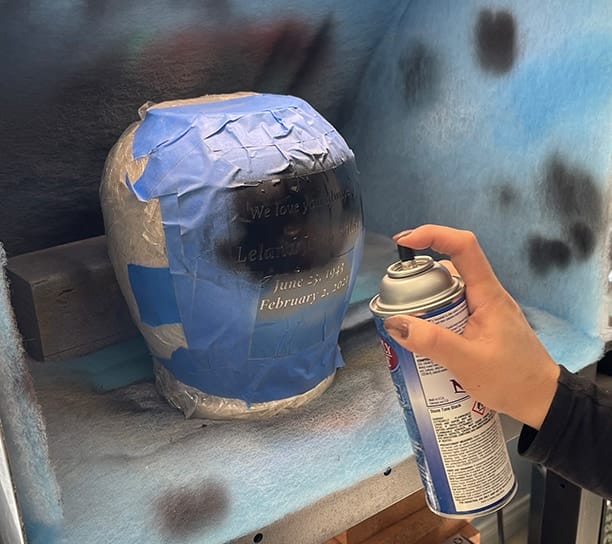
Once the paint is selected, shake can well and try a test spray. Place item in a paint booth or well-ventilated area. (Paint mask recommended) Paint in light coats over text and ensure all edges of etched area are painted prior to removing the photomask. I used black Monument Stone Paint for the Urn. The black color provides a nice contrast against the light marble color. Once the paint is dry, remove the stencil and clean.
Paint
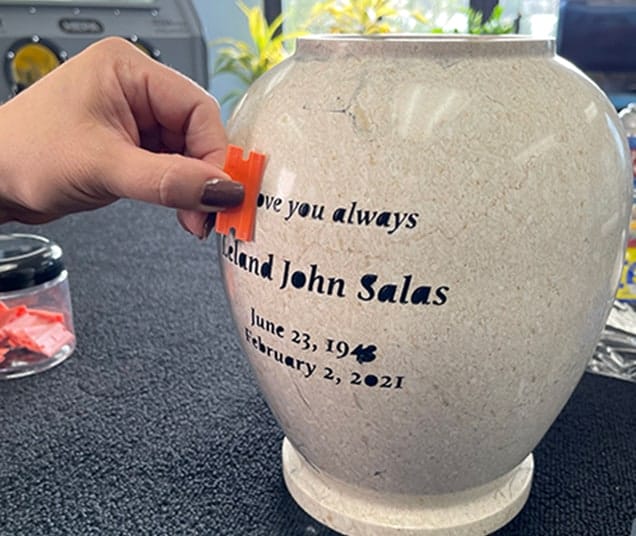
Remove Mask
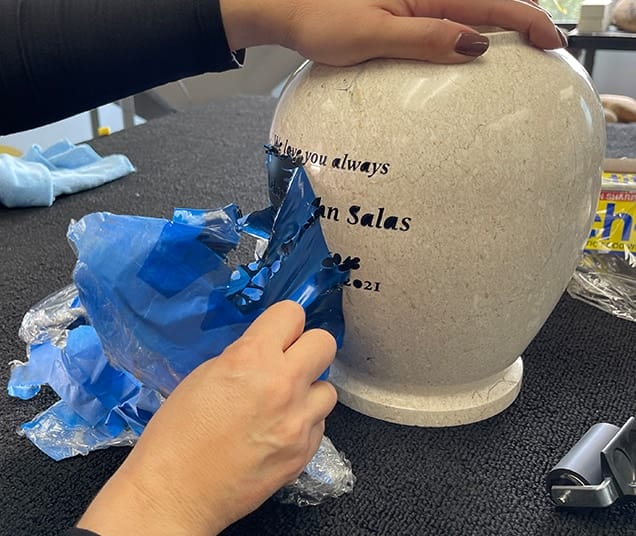
Clean
Finished Sandcarved Urn
Items Used
- SR2000™ Photoresist film
- RZ2 Brush-on adhesive
- Plastic wrap
- Rubber brayer
- Wire wheel brush
- Aluminium oxide 150 grit
- Stone tone black paint
- Plastic razor
Share